Thursday, February 29, 2024

Art Careers

 Careers In Art

Scientific Illustrator


Scientific Illustrators OBSERVE their subjects closely to capture nature's forms the most realistic way possible It is especially important to include accurate details as they draw so that others can learn from their work.

A Scientific Illustrator may create drawings for books, magazines, scientific journals, textbooks, museums and films. 

Ernst Haeckel
This illustration can be found on Wickipedia next to information about these marine bristle worms.
Melinda K. Hall
Sometimes artists add labels or descriptions to their illustrations


Yumi Okita
These insects are created using materials, fibers and paper
Sometimes drawings are simplified to make the subject easier to "read"

Wednesday, February 28, 2024

Sustainability Magazines


Sustainability-Don't Throw It Away, Make Something! -Third Grade

Sustainability Meeting the needs of people now without compromising the ability of people to meet their needs in the future. 

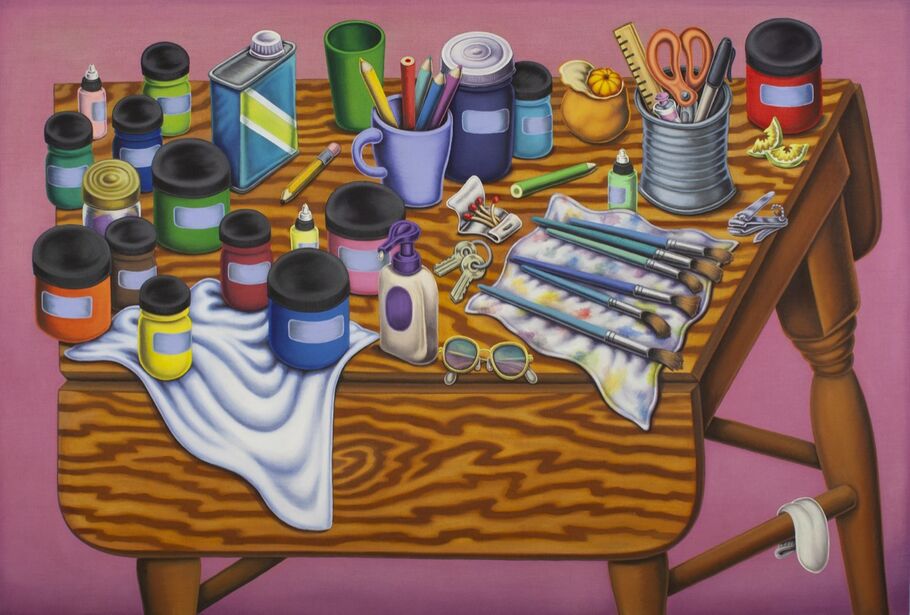
This means a lot of things, but in art class it can mean using materials wisely, and not wasting them. It might mean re-using paper, cardboard, magazines and other items rather than throwing them away. 

Recycle Logo" Images – Browse 1,022 Stock Photos, Vectors ...

Every time you throw something away it gets sent to a landfill. More and more rubbish is piled on top until it is too big and the landfill has to be closed. 

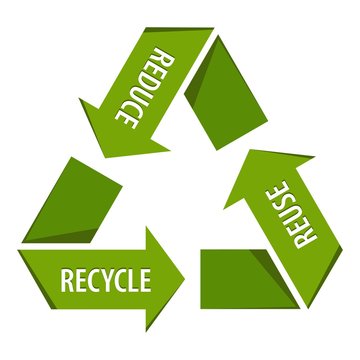
The great thing is that many things can be reused and recycled. 


Lets watch what this might look like for you.

PBS Garbage


The art room is a GREAT place to REUSE items. Let's think about magazines in particular. WHY should we reuse them?

PBS Magazines

Cut shapes out of a magazine page. Here they cut out the shapes of houses.

Derek Gores Collage Artist


Make an animal portrait. Get a copy of an animal and cut and glue magazine papers to cover most of the animal, leaving some of the original features visible.


Cut out shapes to create texture in your art.

You could use lots of different colors, or try to stay in the same color family, like all greens or all blues.

Magazine Upcycle | Magazine crafts, Crafts, Preschool crafts


Make a portrait, use magazine facial features, and cut squares to frame it!


Find images you like, cut them out and create a story-or make something surreal


Monday, February 19, 2024

Still Life - Representational Drawing

A still life is a work of art that captures still objects like fruit, vases, and fabric, carefully arranged and observed by an artist. Artists often create still lifes of ordinary objects from their home or studio, offering us a glimpse into the events of their every-day life. In this painting by artist Pablo Picasso, we see household objects like a vase, plant, candle holder, and glowing candle. Behind, we see a cozy floral wallpaper. Can you imagine a story that involves these objects and this room?


History of Still Life What is Still Life Definition Still Life Paintings


Famous Still Life Artists and Paintings - Celebrations of Objects


17 Contemporary Artists Reimagining the Still Life | Artsy


Create a modern day still life painting in acrylics – Mont ...


Still Life Painting

TIKTOK Fruit Bowl


Sunday, February 11, 2024

Spaces and Places - Maps


When we talk about spaces and places, communities, homes, happy places and towns, we must talk about maps.

Maps show us the directions to get from one place to another.


Maps give us information about a place a we want to know more about.


Maps can be a beautiful work of art. 


This book will show us all the possibilities of things you could make a map about. 


You can create a map of your town


A map inspired by your favorite book, game or movie.


A map about yourself.


Make a map of your heart
Fill it with things that are near and dear to you


Friday, February 2, 2024

What Can You Make With A Pinch Pot?


2 Pinch Pots


Sometimes giving the kids the choice of every color glaze in the rainbow can be a dangerous thing. But I happen to think this turquoise with white spots pup is just the cutest.
If you are a teacher, then you are currently in one of two places: Summer Vacation Bliss or On the Verge of Summer Vacation Madness. I'm the former but I can totally empathize with all ya'll in the latter. The last week of school followed our school-wide art show which left my art room as cleared out and empty as my brain. But have no fear, all you O.V.S.V.M. folk! The end will come (of the school year, not the end of time. I'm an art teacher not an evangelist) and soon you'll be like me: feet up, taking in the sunshine with a nice tall cold...um...tea (well, perhaps a splash of tea along with some other happiness-inducing ingredients) and frantically brainstorming lesson plans and thematic ideas for next year. Ah, the joys of being a teacher. Which sometimes feels like that unwanted gift that keeps on giving. Like a Chia Pet. Or crabs. 

(Did I really just liken my job to an STD? I believe I did.)

Don't get me wrong: if I didn't love what I do, I wouldn't spend so much time plotting and planning. Which brings me to this lesson. I started the planning stages of this project about this time last year. If you've read my recent art project posts (you haven't?! What's wrong with you, you got a life or something? No you don't, go read here and here.) then you know our purpose behind these animal sculptures: to raise money for a local humane society. Each grade level sculpted a dog or cat sculpture (check out my kindergartener's work and my fourth grader's masterpieces) with these being the ones my awesome second graders created.
The problem with projectile whiskers is sometimes they break. I still love this green-eyed spotted kitty just the same.
Because I'm missing school just a pinch (yeah, I do believe there was a little too much happiness in that last cup as well), let me geek out on you and break this lesson down with some good ole bullet points: 
  • On our first day, the kids were given a piece of clay the size of an orange. They twisted this piece in half and created a pinch pot with each piece. 
  • To connect the pots and create a sphere, each kid was given a small piece of newspaper (pages from the phone book work great...why am I still getting those, btw?). This was crumpled up and placed inside the pinch pots to prevent them from flattening. In the past, we've rolled up small spheres of clay and placed those in the newspaper before sealing it inside. When the newspaper burns, those little clay beads create a rattle inside of your piece.
  • After the newspaper was placed inside the two pots, the sphere was complete. To reinforce the seam where the two pots came together, the kids rolled a coil of clay and placed it over the seam. This was flattened and smoothed. I know what you're thinking, "An enclosed piece of clay is going to explode in the kiln!" Dude, relax, I got this. Holes were pierced into the sphere at a later stage.
  • Because my classes are a half and hour long, it was at this point that the kids wrapped their spheres in a wet paper towel and sealed them inside their labeled ziplock bag.
  • On the following day, the kids rolled out and attached four thick and short coils of clay for legs. To prevent the legs from falling off once attached, we bent the end of each leg at the top. This created a larger flat surface for the leg to attach to the bottom of the sphere. Of course, we tooth brushed the bottom of the sphere and the tops of the legs before attaching.
  • The kids were given some ideas on how to create a face for their pet. Then they came up with a billion much better ideas. Which is how is always goes, isn't it? I cannot keep up with their superior imaginations.
Best. Ears. Ever.

Mini Sketchbook