Wednesday, April 17, 2024

Artist Statement


Sentence Starters


  • My artwork is about…


  • I expressed my feelings by…


  • One thing that is unique about my work is…

  • I tried something new when I…


  • Something surprising that happened was…


  • I imagined my idea by…


  • My idea changed when…

  • The hardest part was…


  • I solved a problem by…


  • I observed…


  • I was inspired by…


  • One thing I want you to notice is…

  • I practiced new art skills when I…


  • I collaborated when I…

  • One thing I think I did great at is…


  • One reason this is a strong piece of work is…


  • Next time I could challenge myself to…


Sunday, April 14, 2024

Alma Thomas - Eclipse

  Alma Thomas was an African-American Expressionist painter and art educator.   In Washington D.C. where she worked and lived, she would view her colorful garden through the windowpanes.  Her colorful paintings evoke the happiness she felt painting. 


Alma Thomas

Artist Alma Thomas was inspired by the 1970 solar eclipse visible from Washington, DC. With its dark blue core and radiating rings of color, “The Eclipse,” 1970, acrylic on canvas.
Alma Thomas painted a picture depicting a solar eclipse. She made art about the feelings she had about things she saw in nature.


Did you watch the eclipse? 


Artists respond to events and make art about them...

"Solar Eclipse" - Limited Edition Art Print by Deborah Velasquez in beautiful frame options and a variety of sizes.
Deborah Velasquez

The Long History of Art Inspired by Solar Eclipses
Angela Lane

The Long History of Art Inspired by Solar Eclipses
Ashley Zelinskie


and so can you!
What did you see yesterday? 
Who were you with? 
How can you make a piece of art about this experience?

Solar Eclipse  2024


Sunday, April 7, 2024

Folk Art Flowers


Art of Ed Pics


Mask Making


 Masks are such a great way to introduce your students to other cultures. They can also help students explore their own identities or celebrate people they admire such as fictional characters or personal heroes. Creating masks with plaster gives students the chance to work with new materials and ensures they’ll be able to enjoy their finished work for years to come.


TpT Mask Lesson

mask and sketch

3. Prep your materials.

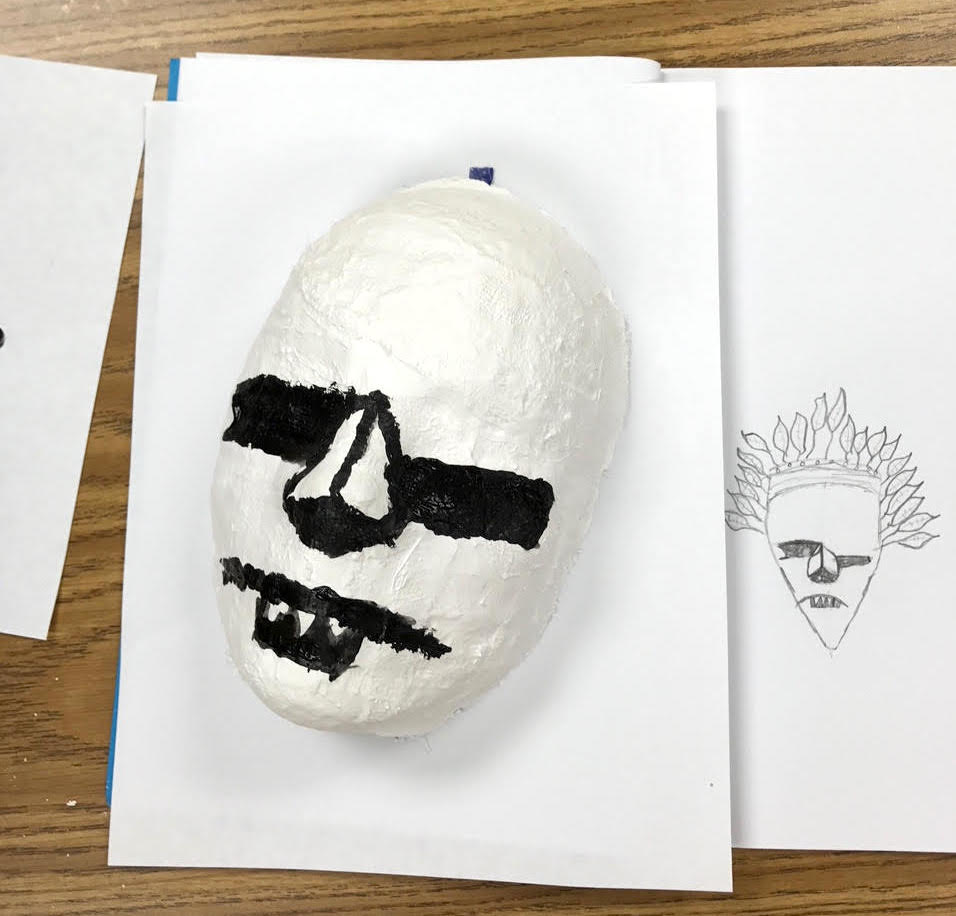
It is important to have your materials ready to go so students can finish the plaster portion of the lesson in one class period.

Here is what you will need:

  • Plaster gauze cut into one-inch strips
    (Plaste’r Craft Modeling Material is a good choice)
  • Scissors
  • Water containers
  • Butcher paper
  • Class set of face mask forms
  • Acrylic paint
  • Embellishments such as feathers, yarn, glitter, gems, sequins, etc.
  • Hot glue gun

4. Demonstrate plaster techniques.


  • Hold both ends of the plaster strips when you dip it in the water, so it does not shrivel up.
  • You can cut the plaster if you need a smaller piece to fill in a specific area.
  • You can choose to make a mask with the eyes covered or uncovered. Leaving the eyes uncovered allows you to create a wearable mask. Covering the eyes allows you to paint designs in those areas.
  • You don’t have to cover the entire face mask to make a full mask. You can play with angles and even make half masks.
  • Three layers of plaster will ensure the mask is strong and less fragile.

5. Have students create their masks.


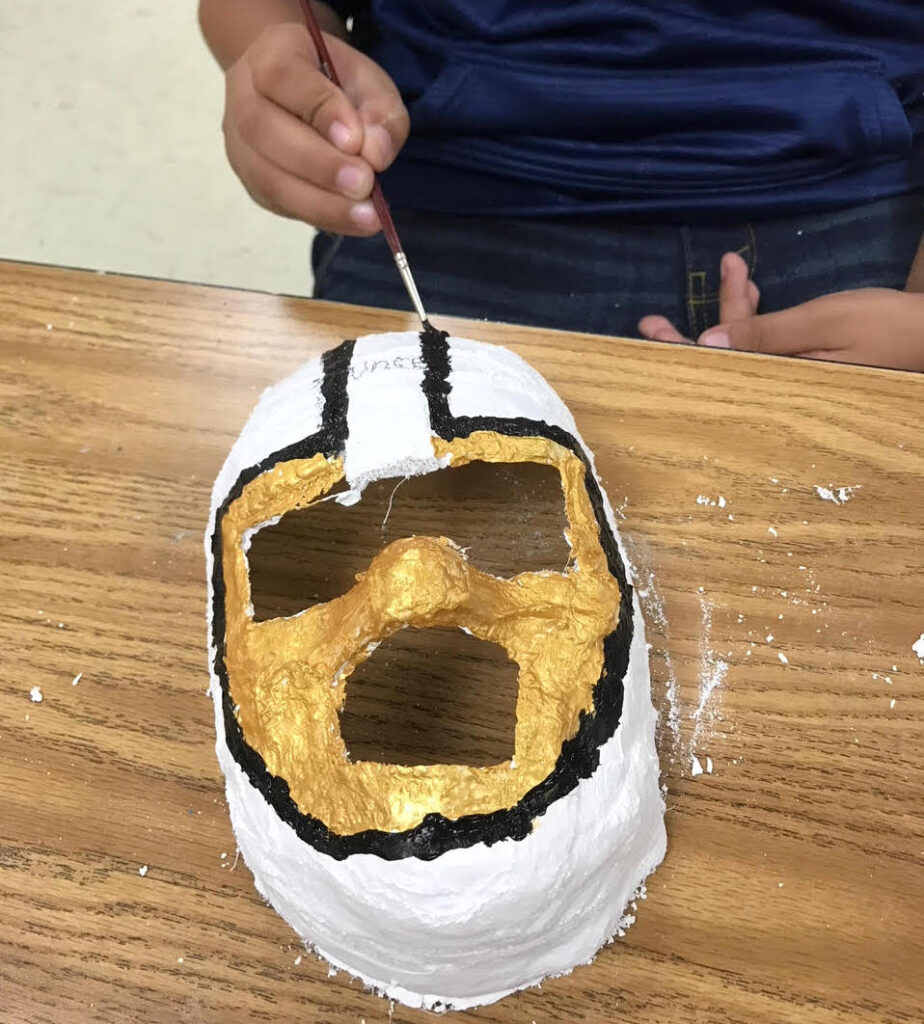
Day 2: Paint the Masks

  •  Remind them to do large areas first and the details last. If they need to lightly sketch on the mask with a pencil, that can be helpful.

Painting the mask

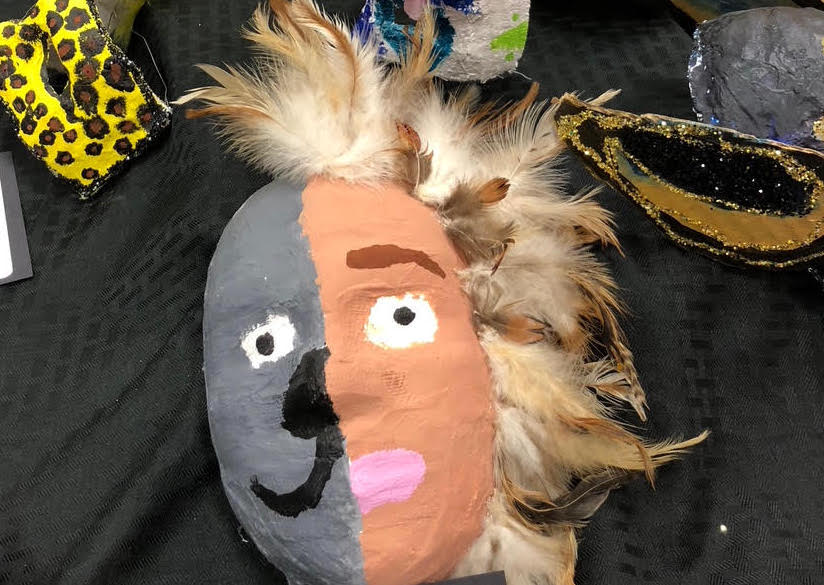
Days 3 and 4 and Beyond: Add Embellishments

finished plaster mask

Have students answer the following questions when they share:

  • What inspired your work?
  • What did you enjoy most about designing your very own mask?
  • What would you have done differently?

Overall, this lesson is a great way to focus on creating masks while giving your students room to bring in their own ideas for their final piece. If you don’t have room in your budget for face molds and plaster, try similar techniques using paper mache and balloons! Another great tip is to send a note home to parents to let them know about the project. You might be surprised by the embellishment donations you receive!

Mini Sketchbook